This savory, sweet, and hearty Homemade Breakfast Sausage is great for any breakfast! With a combination of pork, sage, and maple syrup, this pork sausage is delicious. It’s a perfect recipe to turn into patties and also for breakfast sandwiches.
This ground version is great for a breakfast bake, made into breakfast burritos, breakfast bowls, or even breakfast quesadillas.
As an Amazon Associate I earn from qualifying purchases.

Why make Homemade Breakfast Sausage?
This recipe came about from my husband. Every time I would attempt to bring home some pre-made sausage he wouldn’t be able to stand the gristle and little hard pieces that always seem to be found in packaged pork.
Although frustration would hit me after making a whole meal he was no longer interested in eating, I also understood not wanting to eat meat with little pieces of ick in it. Hence, trying to branch out and try something new!
..branch out and try something new!
Plain ground sausage available in your local grocery store’s meat department is amazing. it’s smooth and ground to perfection! No more gristle! No more weird little icky hard pieces ruining a meal!
Add all your own seasonings and BAM! Homemade Breakfast Sausage! Plus, being able to tell the family or your guests, “It’s made with homemade sausage,” always feels really good!

Ingredients
- Ground Pork
- Thyme
- Parsley
- Oregano
- Rubbed Sage
- Paprika
- Salt & Pepper
- Maple Syrup
The list of ingredients might seem long, but I am willing to bet you have most of these items in your pantry. I didn’t always keep Thyme, Oregano, and Parsley around. Now that I do, it has opened a whole new world of flavors and recipes!
You’ll notice I used freeze-dried herbs; if you are using ground herbs, just reduce the amount a little bit. Same with the rubbed sage, it’s a little fluffier than ground, so if using ground, just be light-handed with it.
If these are things you don’t normally have around, pick them up. I bet they will open you up to adding a little to dishes you never knew needed it!
All the ingredients can be adjusted to your liking. There have been times when I left out the Maple Syrup just due to the dish I was preparing.
Make this recipe your own, and have fun with it!
Instructions for Homemade Pork Sausage
This recipe is super simple! Just mix all the ingredients in a bowl and then cook! Also don’t skimp on the maple syrup, it adds a moisture to the sausage that makes it so much better!

The only tip I have to share about this easy recipe is to dirty that extra bowl to mix together before cooking.
I know so many of us chefs are tempted to just toss the meat into a pan and season on top, then mix in the pan to save the dish. I have done this recipe both ways many times, and it is very worth it to mix before cooking. It helps the flavors meld together for this homemade breakfast sausage.
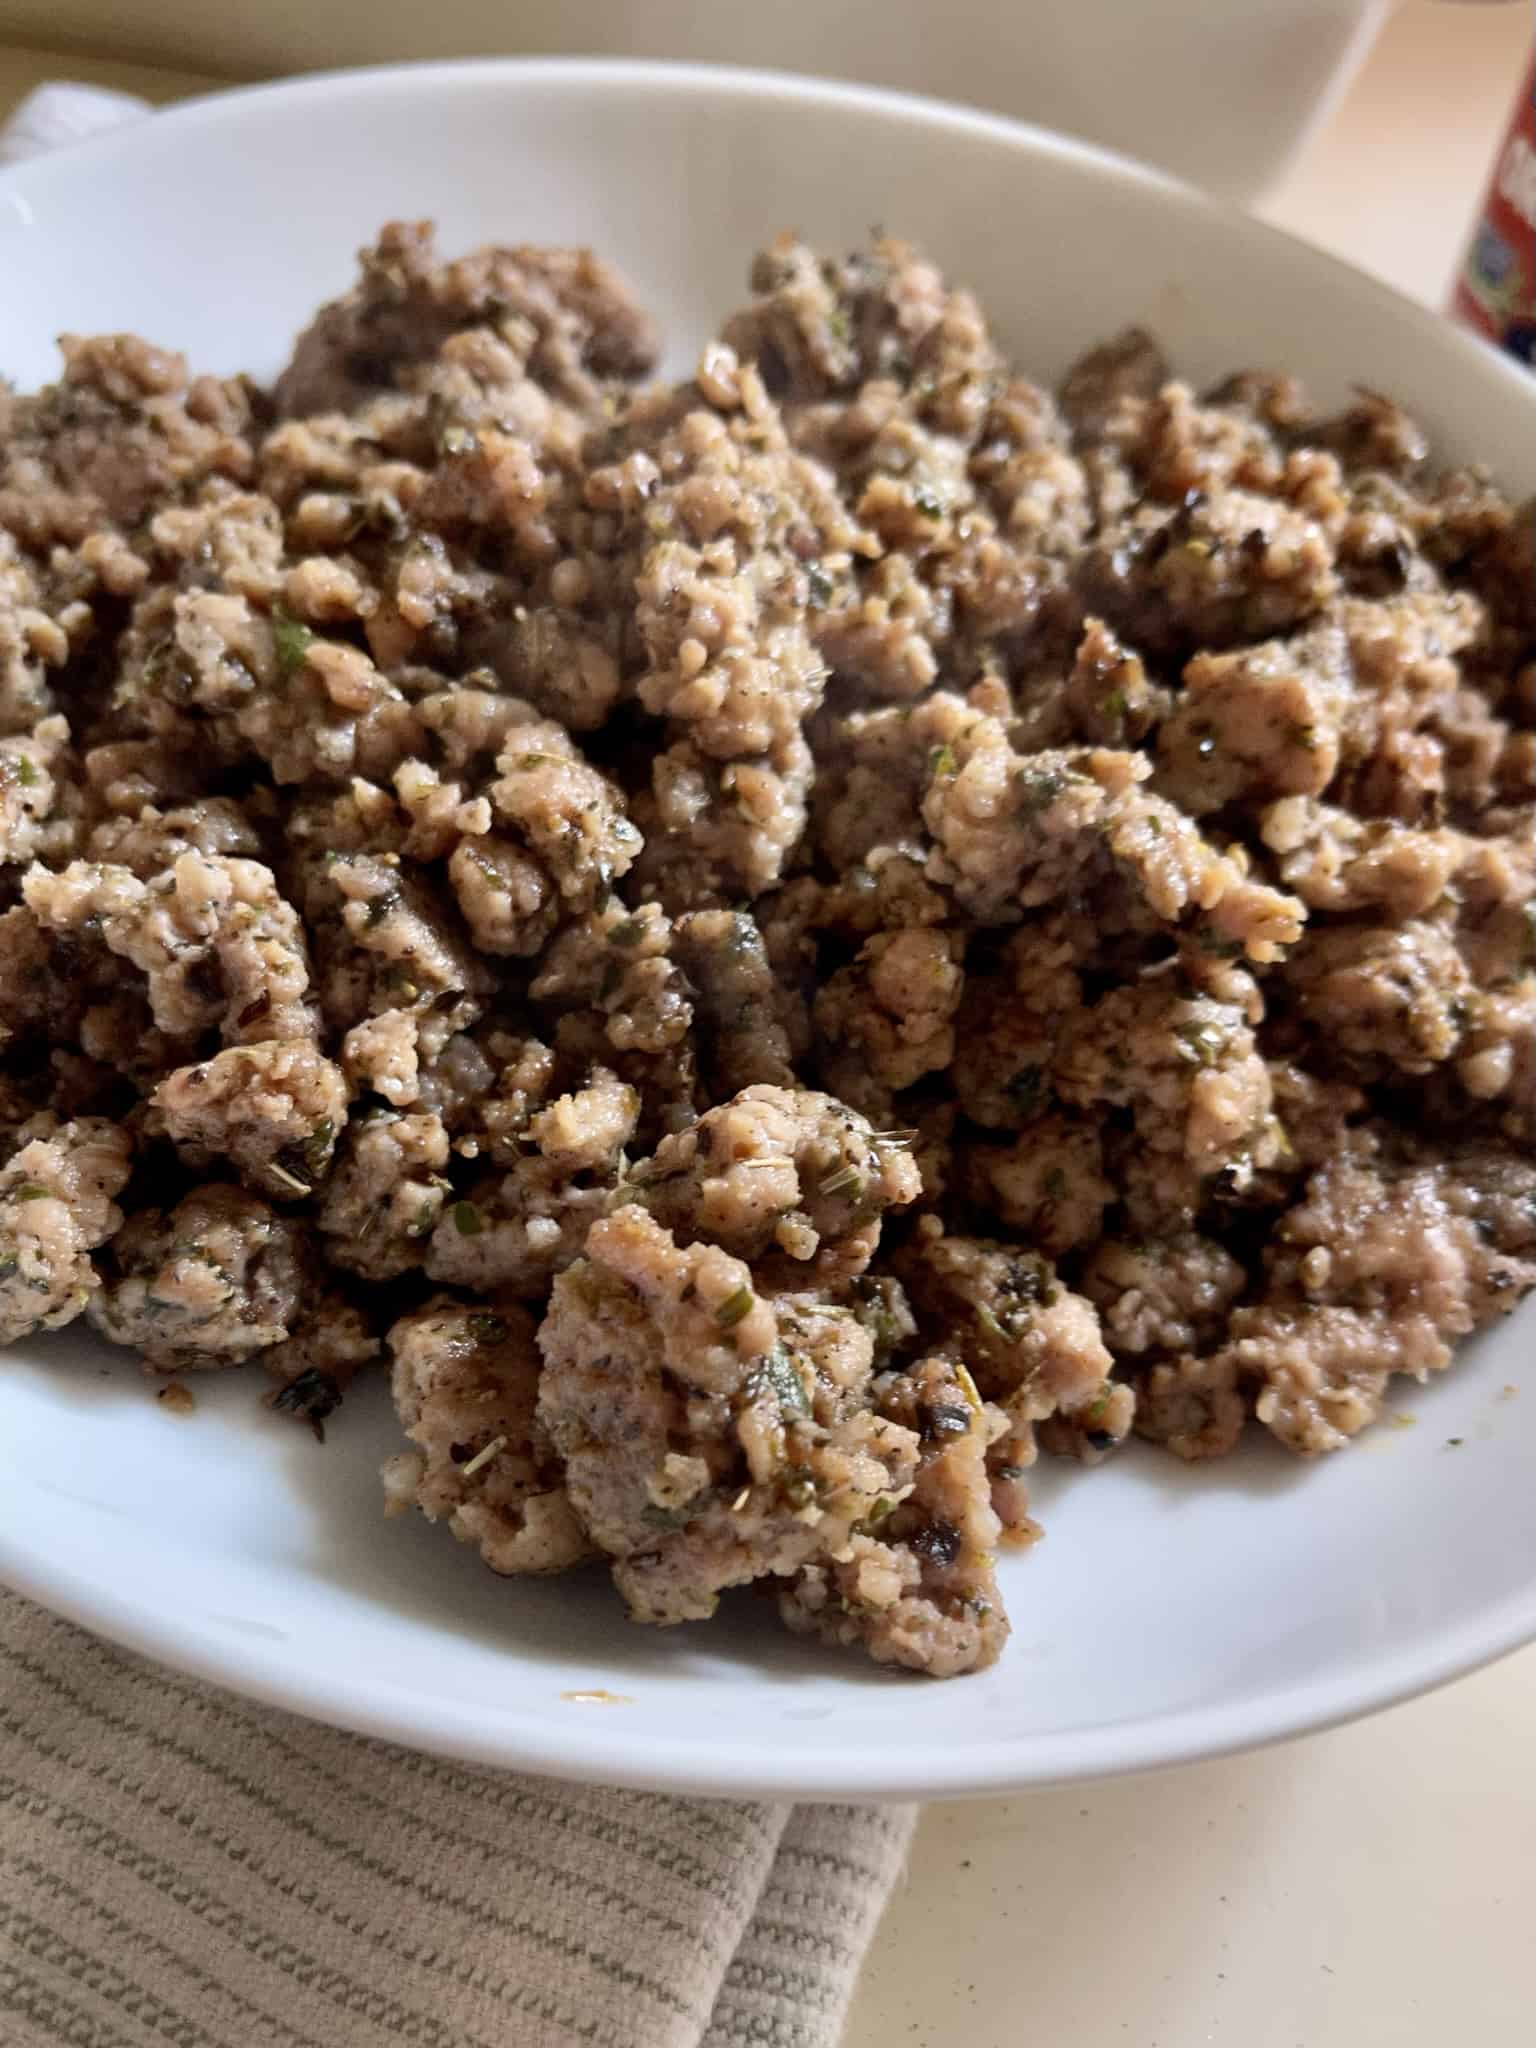
Homemade Breakfast Sausage

This Homemade Breakfast Sausage is so easy and delicious, this savory dish is full of seasonings and a dash of maple syrup to give it that sweetness that goes along with any breakfast meal. Feel free to turn this recipe into patties for Breakfast Burgers! Just make sure to cook on low heat, this process really does help all the flavors cook into the pork.
Ingredients
- 1 lb Ground Pork
- 1 tbsp Thyme
- 1 tsp Parsley
- 1 tsp Rubbed Sage
- 1 1/2 tsp Oregano
- 1 tsp Black Pepper
- 1 tsp Salt
- 1 tsp Italian Seasoning
- Spinkle of Paprika
- 2 tbsp Maple Syrup
Instructions
- Place Ground Pork in bowl big enough to mix
- Combine all ingredients with raw pork
- Heat medium sized skillet on medium/low heat
- Cook pork, breaking meat into small pieces while cooking
- Cook until pork is done, about 15 mins
- Enjoy!