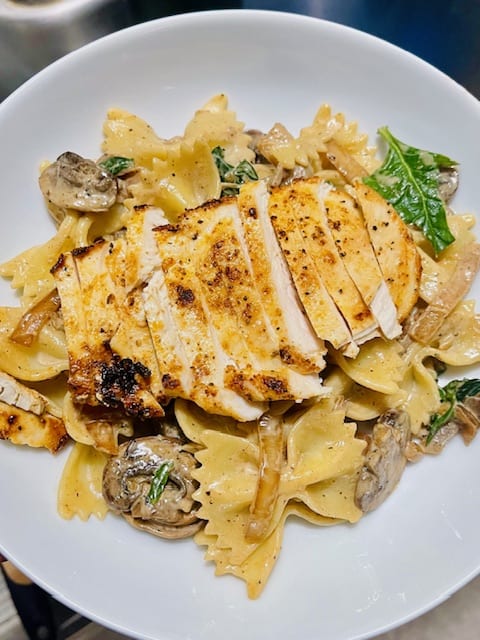
Succulent chicken, sauteed mushrooms, and fresh spinach dance in a rich parmesan cream sauce over fluffy noodles. This Spinach and Mushroom Noodles with Chicken recipe is weeknight dinner magic!
This recipe takes a little prep since it’s cooking chicken, cutting an onion and mushrooms but it is so worth it! The flavors are fresh and light and this makes a great family meal.
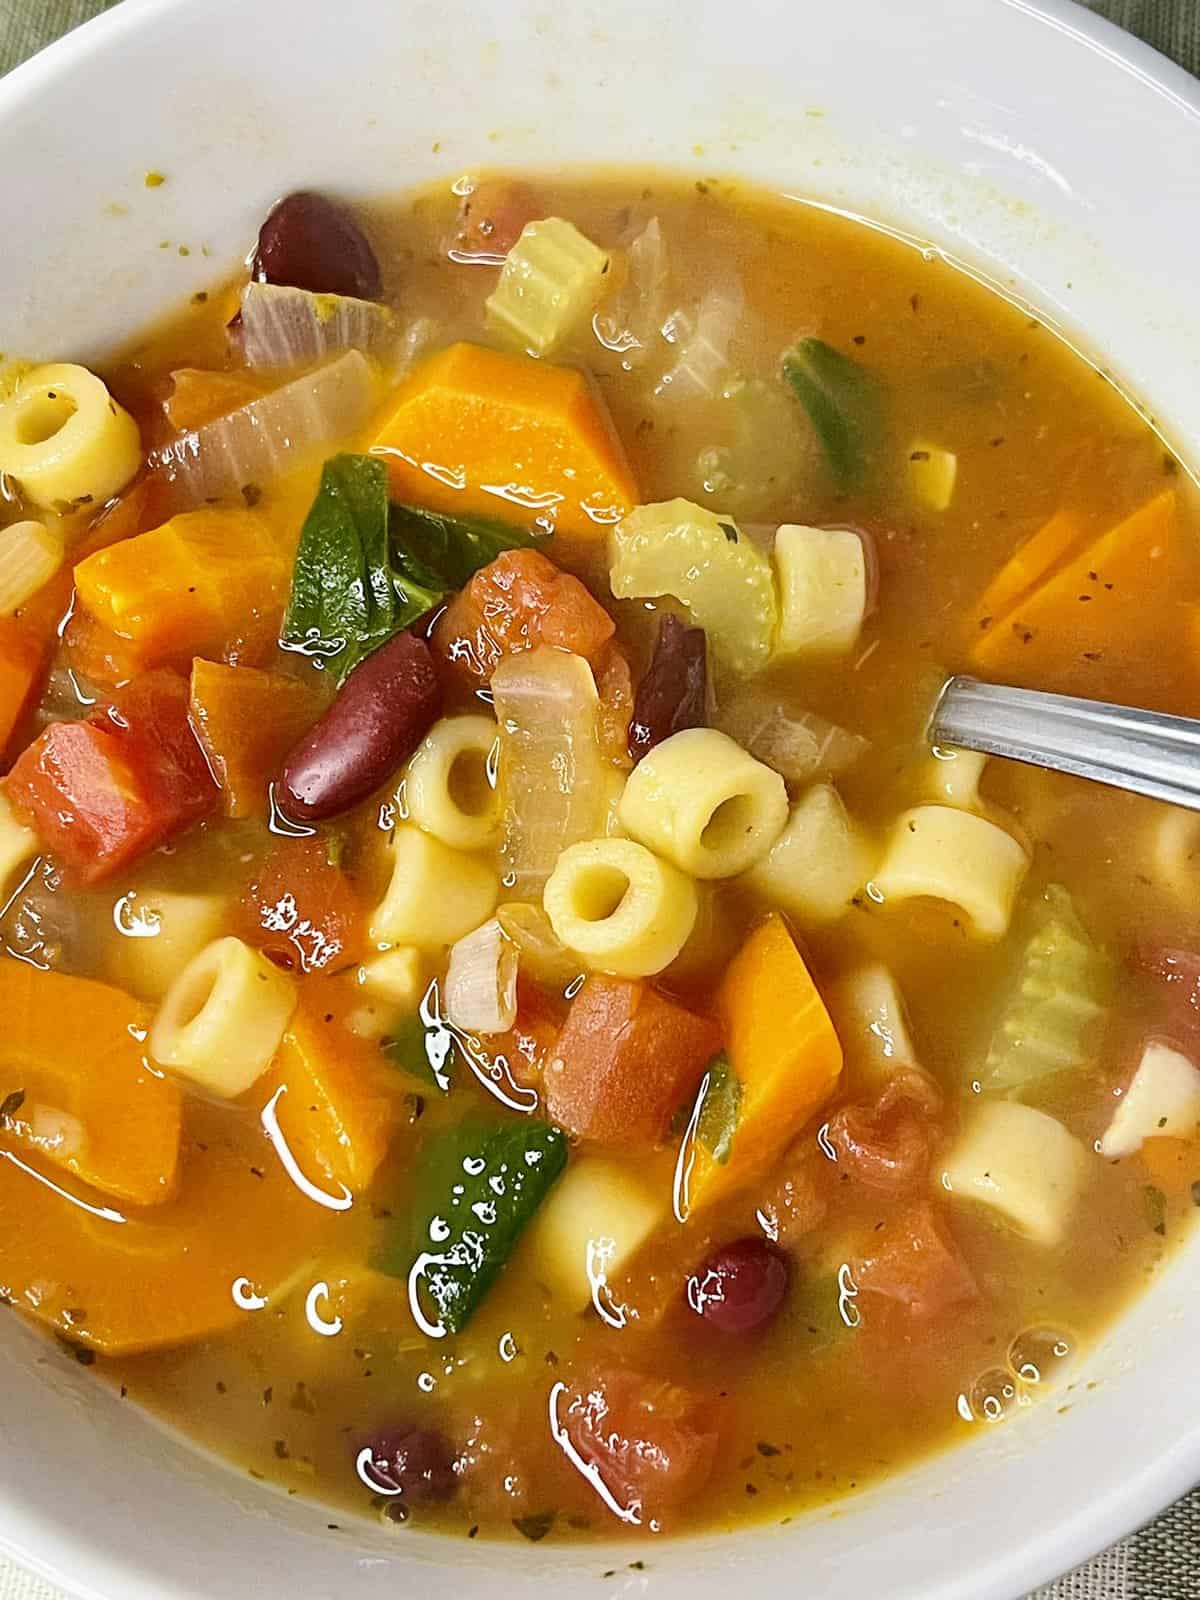
If you are making a fancy dinner, this Minestrone Soup would be a great appetizer with this Italian-inspired dish!

Ingredients
- Cooking oil, I use avocado oil but Olive oil or Canola oil if that’s your thang.
- Chicken breast is my preference for this recipe, but feel free to switch it with chicken thighs or even pork chops would go well with this recipe.
- I’m leaving the seasoning of the chicken up to you! Whatever you normally use in your pantry, just toss it on. If you are unsure just use a little salt, pepper, Italian seasoning, garlic, and/or onion powder.
- Pasta! The Farfalle pasta is perfect for this recipe, but fusillini, penne, get creative, or just use whatever you have an extra package of.
- Chop up the onions into thin slivers so they cook up into almost strips, they blend into the pasta well like that.
- Balsamic Vinaigrette, this little splash and pinch of salt at the end of the cooked onions is incredible!
- Crimini mushrooms sliced kind of thick is what I use but feel free to use more exciting options.
- A good handful of fresh spinach adds so much brightness and greens!
- If you don’t have heavy cream just use half-and-half
- Fresh Parmesan cheese is a must!

Cooking the Spinach and Mushroom Noodles with Chicken
- Starting the noodles first and then just setting them aside helps from having too much going on at once.
- Slice your chicken breasts or pound them down to about 1/4 inch thick.
- While your chicken is laid out, season your chicken and coat.
- I’m a sucker for a non-stick pan and I still like to add a couple tbsps of oil. Once your oil is hot add your chicken. Try not to flip your chicken breasts til you see it starting to cook on the sides and the edges are turning white.
- Once your chicken is cooked and beautiful, set it on a plate and loosely cover with aluminum foil to keep it juicey and warm.
- Add your onions to your warm pan and add a couple tbsps of water to deglaze the pan. Low and slow is very important for perfectly caramelized onions.
- Once the onions are finally done, add the splash of balsamic vinaigrette and a pinch of salt. Make sure to take some good sniffs of the depths of scents at this point. Then move them into a dish to free up your pan.
- Add your garlic and mushrooms. Your house will smell amazing at this point! Cook them for about 2 mins just to let the garlic become fragrant and your mushrooms to brown a little bit.
- Time to add your spinach and let wilt for about 20 seconds.
- Make sure to turn down the temp at this point because the last thing you want is to overheat your heavy cream and cheese and cause the lactose to separate and make your dish grainy.
- Once your pan has cooled down to a low setting, add your cream and cheese, add a little salt and pepper to taste.
- Let the cheese melt and add your noodles and onions and stir til all well incorporated.
- I like to place this mixture at the bottom of a pasta dish and top with freshly chopped chicken.
- Perfection! Enjoy!

Need other dinner inspiration? Here are some of my favorites!
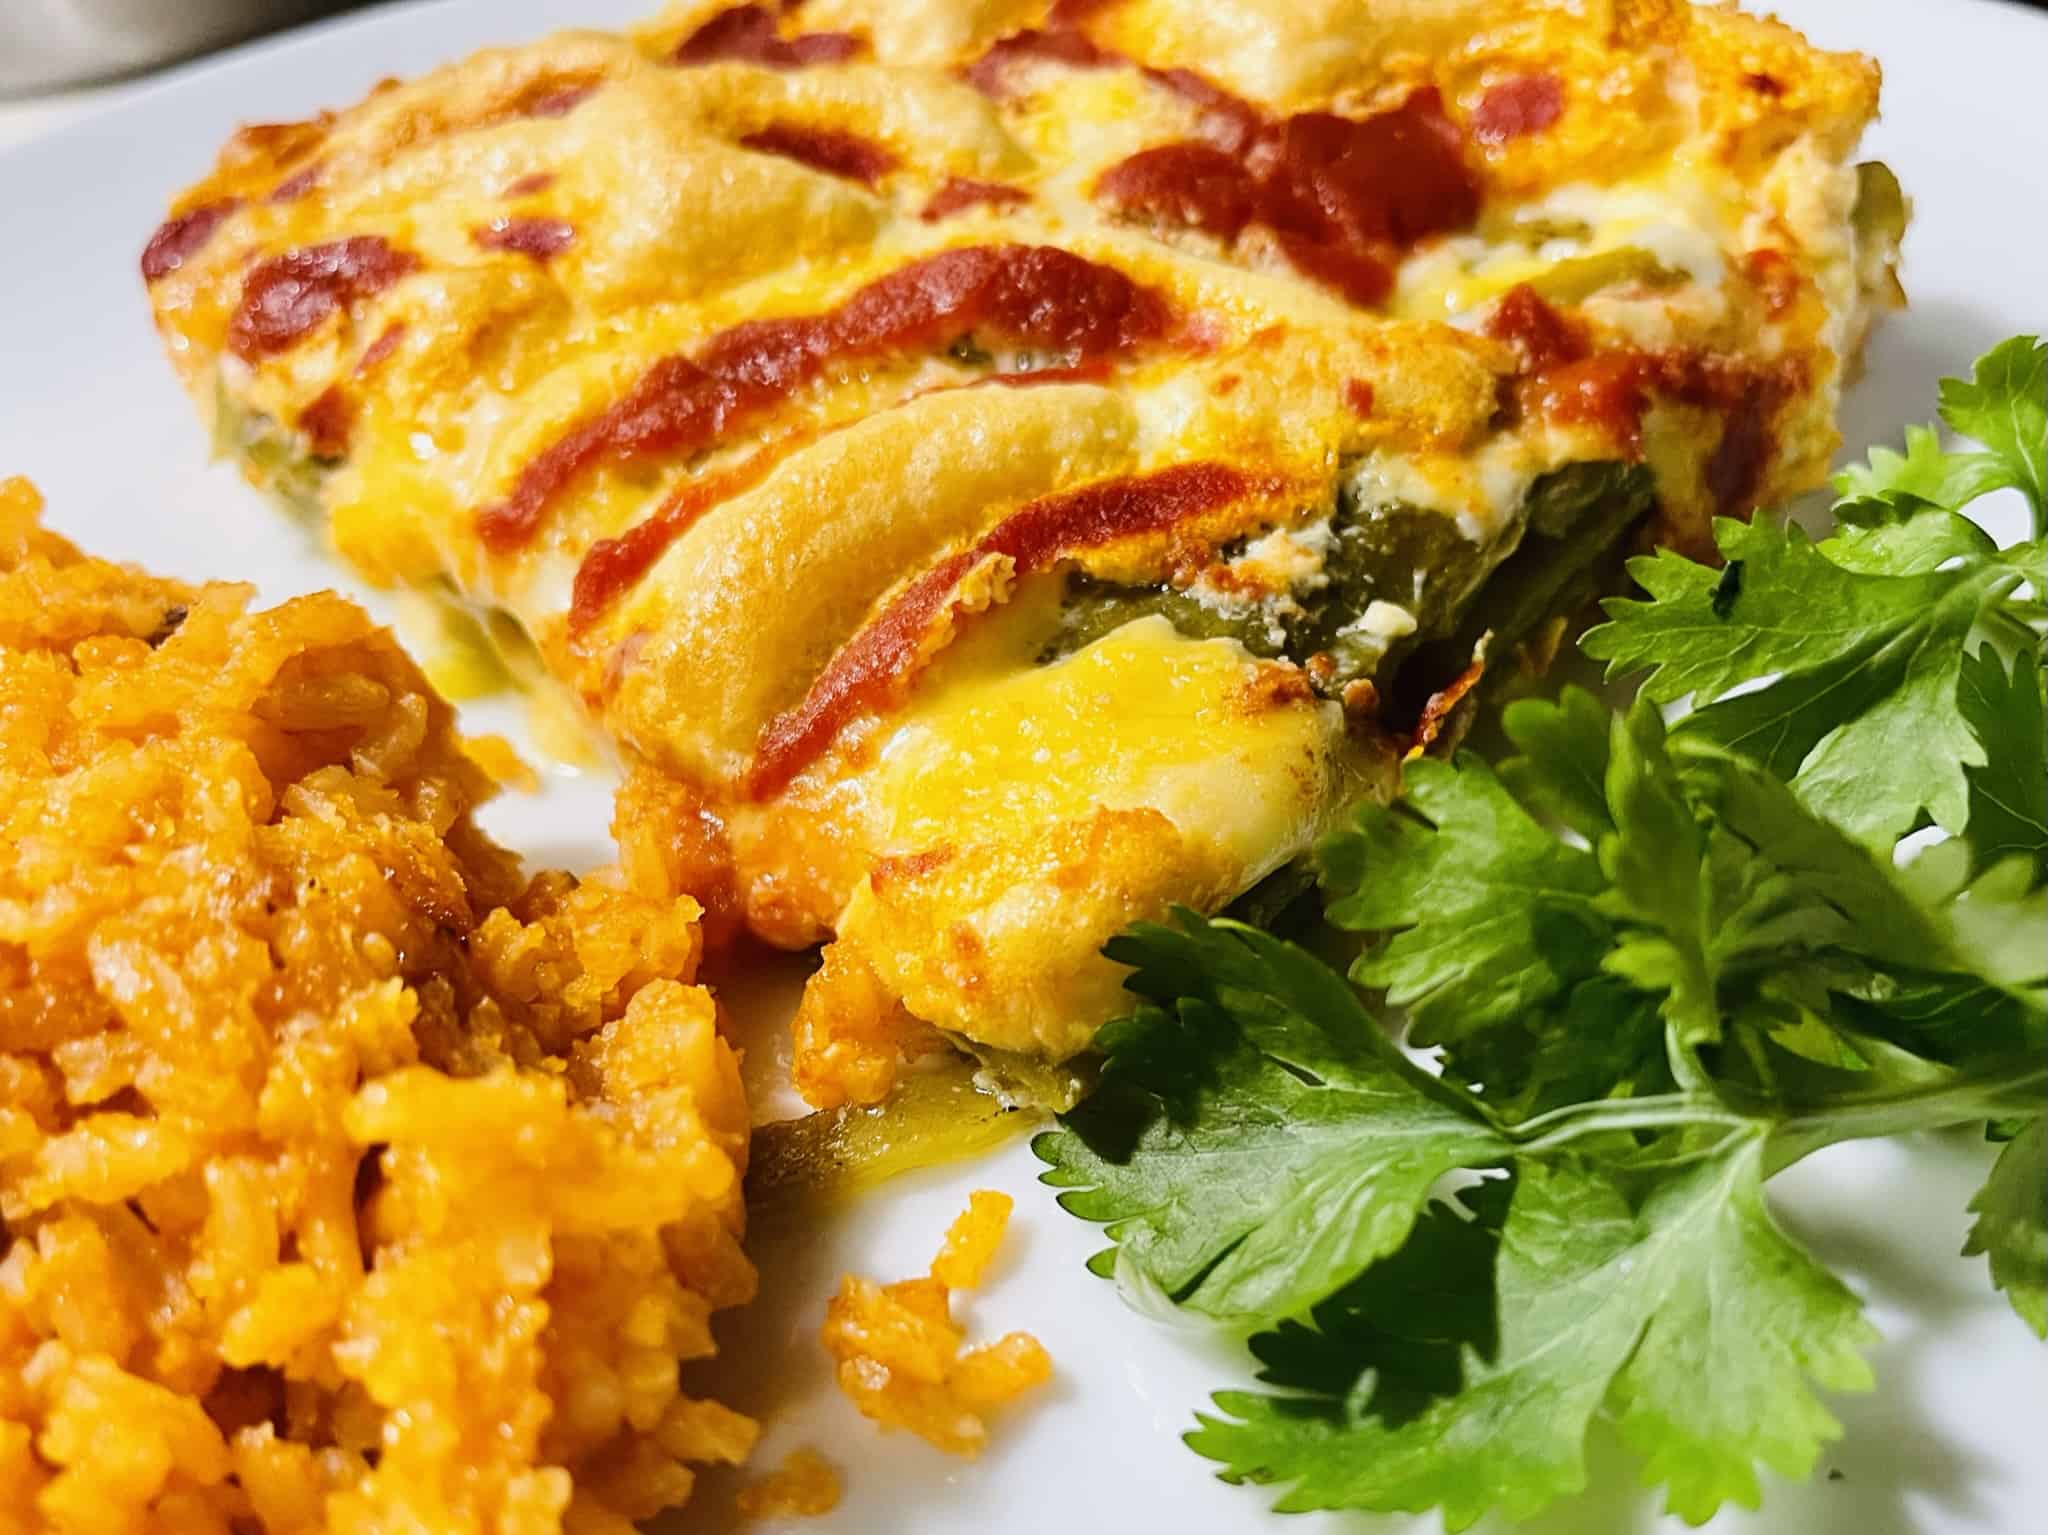
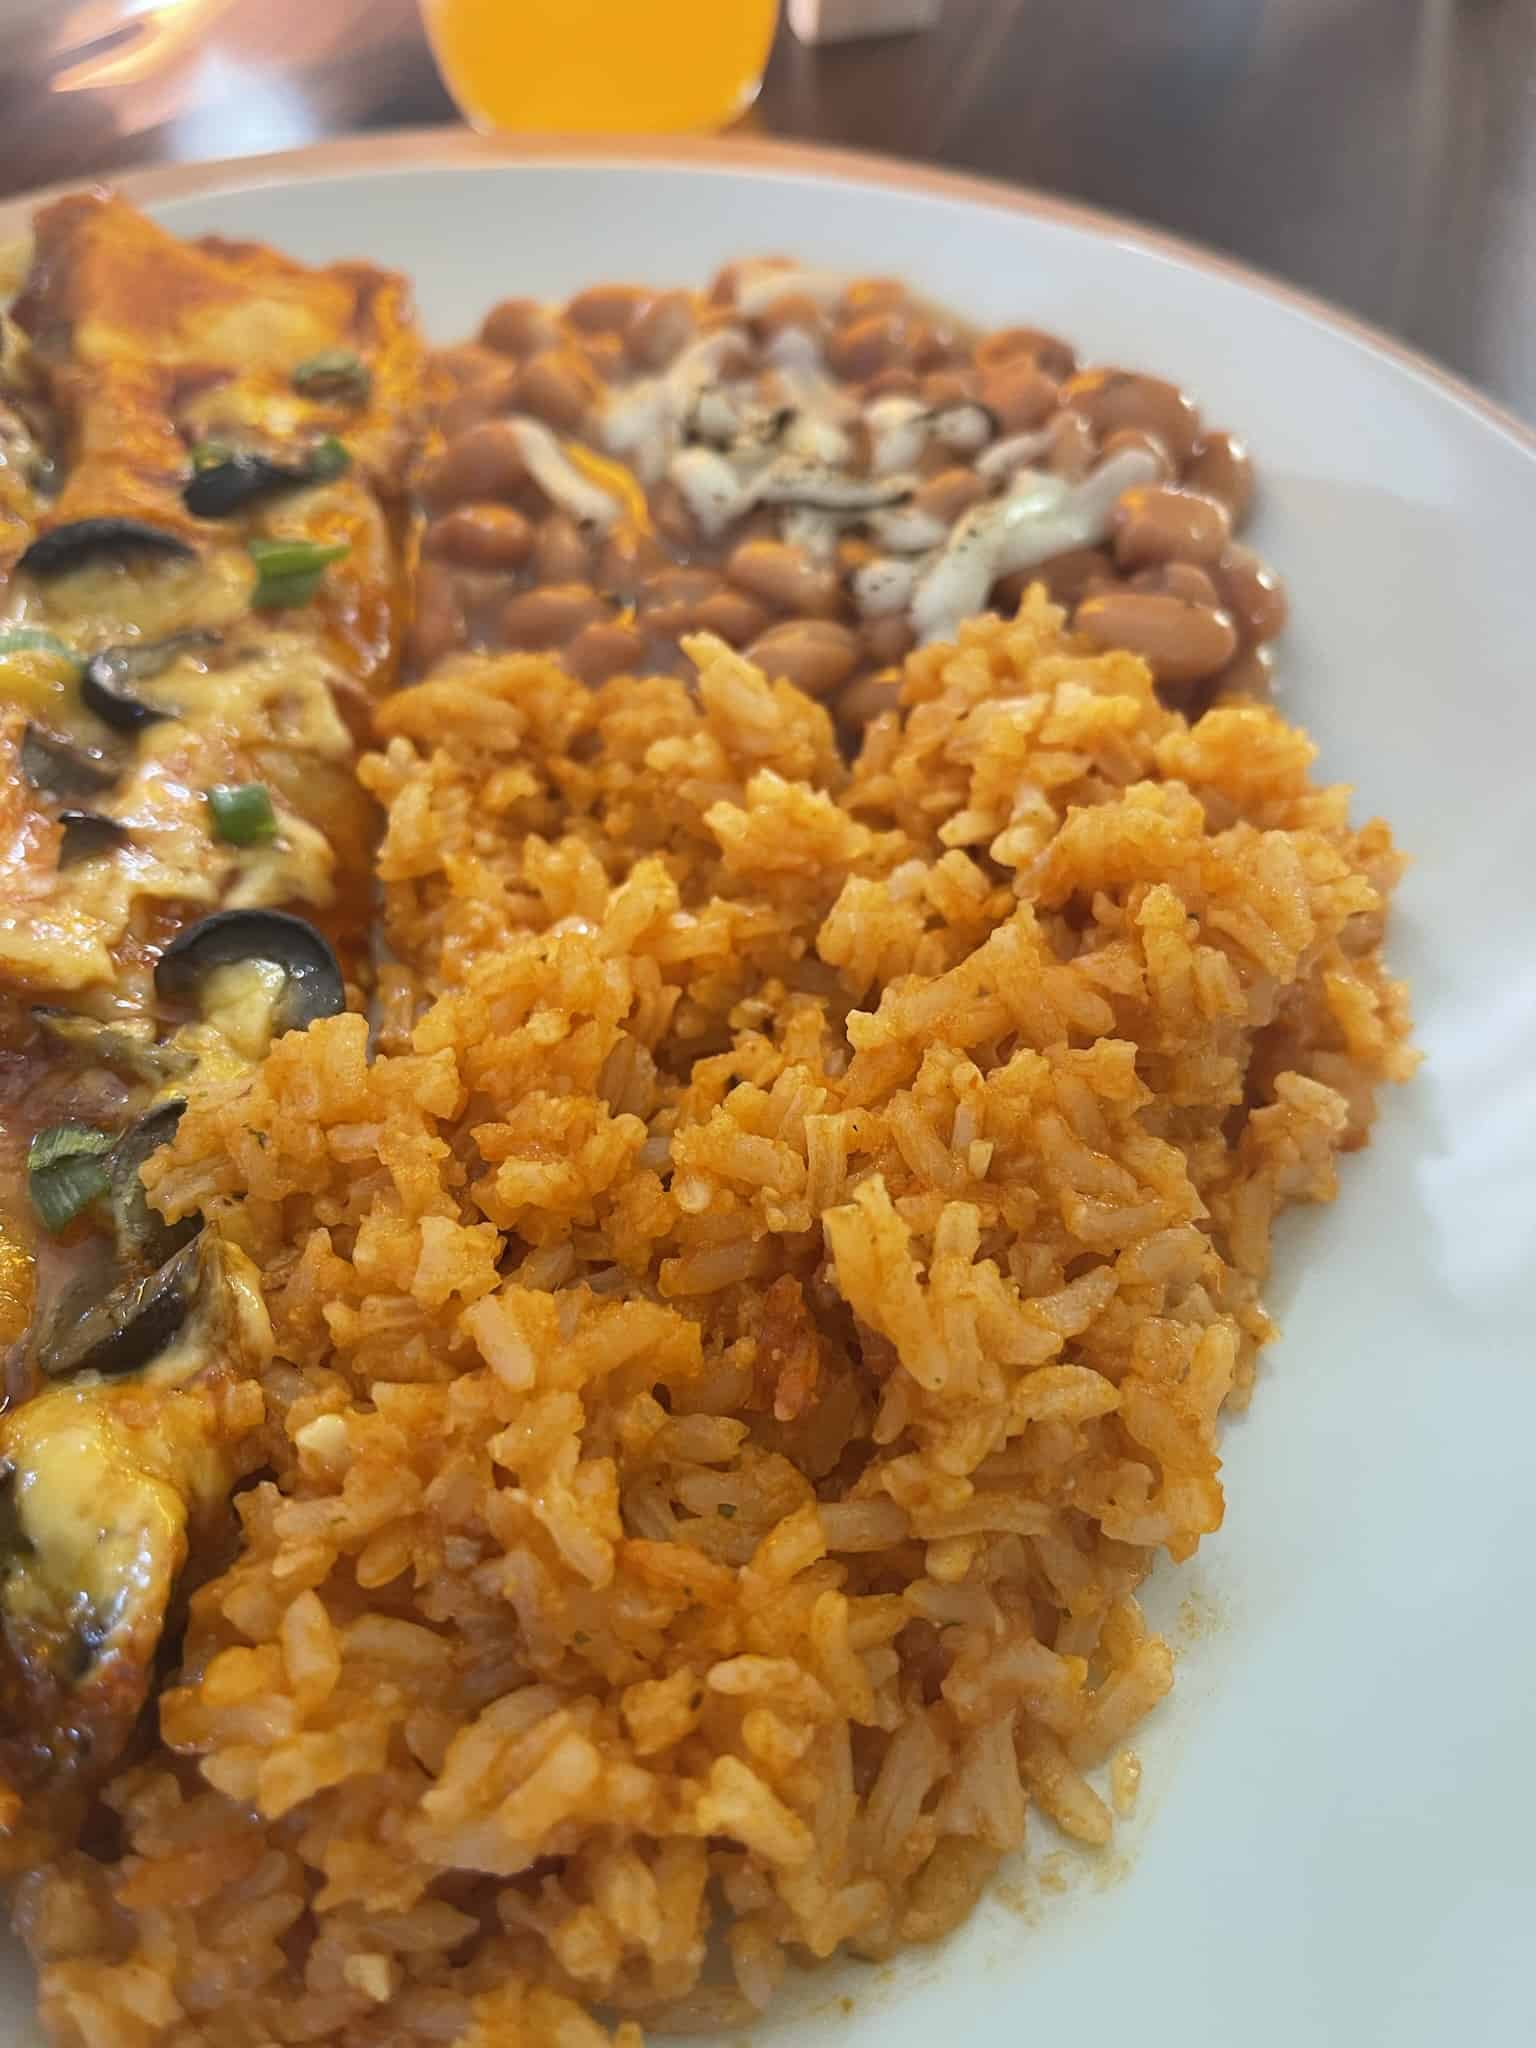
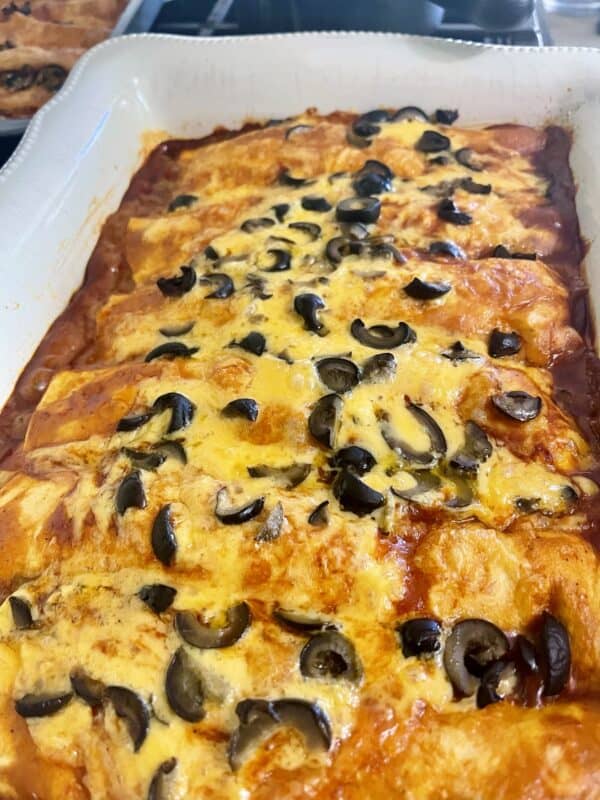
Easy Chicken Enchiladas – 6 Ingredients
PrintSpinach and Mushroom Noodles with Chicken

Whip up this restaurant-worthy Spinach and Mushroom Noodles with Chicken in under 30 minutes. Juicy chicken, savory mushrooms, and wilted spinach in a velvety parmesan sauce – a family favorite reborn!
- Prep Time: 15 mins
- Cook Time: 35 mins
- Total Time: 50 minutes
- Yield: About 4 full meal servings 1x
- Category: Family Dinners
- Method: Stove Top
- Cuisine: Italian
Ingredients
Chicken
- 2 tbsp cooking oil
- 2 Chicken breasts, thinly sliced or pounded
- Preferred seasonings for chicken (salt, pepper, onion, garlic, Italian seasoning)
Pasta
- 8 oz of Farfalle pasta, 1/2 a box (or pasta of choice)
Sauce
- 1/2 Onion chopped in slivers
- 1 tbsp Balsamic Vinaigrette
- 4 oz Mushrooms, Sliced
- 1 cup Spinach, roughly chopped
- 2 cloves of Garlic, Minced
- 1/2 cup Heavy Cream
- 3/4th cup Parmesan Cheese, preferably freshly grated
- Salt & Pepper
Instructions
- Boil pasta til done, drain, and set aside.
- Coat chicken lightly with salt, pepper, Italian seasoning, garlic, and/or onion powder.
- Heat oil on medium/large skillet.
- Cook chicken breasts on both sides til golden brown, beautiful, and fully cooked (165 degrees). Set aside.
- In the same pan, you cooked chicken (no need to wash it), add onions, and a couple of tbsps of water. Cook on medium/low til onions smell sweet and caramelized.
- As far as cooking the onions go..the art of caramelization takes patience. If they dry out, add a couple more tablespoons of water. They will start to turn golden and smell amazing. This process can take 20 mins if you have the time to let it.
- Once onions have caramelized to tender perfection, add a splash of balsamic vinaigrette and a pinch of salt just til incorporated, remove, and set aside.
- In the same pan, toss in your garlic and mushrooms. Cook for about 2 mins, then add spinach.
- Turn the heat down to the lowest setting and add heavy cream and parmesan cheese.
- Add noodles and caramelized onions.
- Cut chicken breast into pieces and serve on top of a serving of noodle mixture.
- Enjoy!
Notes
Make sure to take a minute to enjoy the smell of those onions after the glazing of balsamic vinegarette and salt. The flavors and scents are so intricate; it’s lovely.
I like to keep the chicken and noodles separate so I can save the leftover chicken for other recipes.